Company Administrator Permissions
By default, Company Administrators have all privileges and rights to all divisions and sources on Payway Payment Manager. Company Administrators can perform all payment functions through Payway Payment Manager and are subject to no restrictions.
Only a Company Administrator has the ability to log on to the Payway Administrator tool:
https://edgilpayway.com/payway_admin/logon.jsp
You should provide Payway customer support with the appropriate individual(s) who will have Administrator access for your company.
Payway will create the initial Company Administrator(s) and supply those users with a temporary password. Once your Company Administrator(s) have access, they will have the ability to create additional Company Administrators if desired.
By default, Company Administrators have all privileges and rights to all divisions and sources on Payway Payment Manager. Company Administrators can perform all payment functions through Payway Payment Manager and are subject to no restrictions.
1) Creating a new Company Administrator
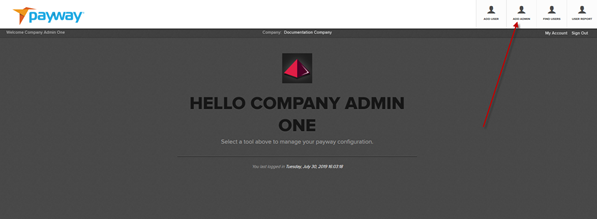
To create a new Company Administrator, select the “ADD ADMIN” button on the toolbar.
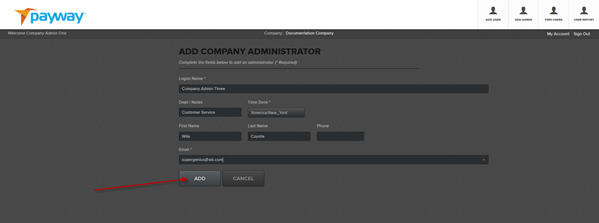
Enter all applicable information.
|
Name |
Description |
|
Logon Name |
Company Administrator’s email address for uniqueness |
|
Dept/Notes |
Optional information |
|
Time Zone |
Time zone where the administrator is located, so that transaction time stamps reflect the administrator’s time zone |
|
First Name |
First name of the administrator |
|
Last Name |
Last name of the administrator |
|
Phone |
Phone number of the administrator |
|
|
Email address of the administrator |
Once complete, select “ADD.”
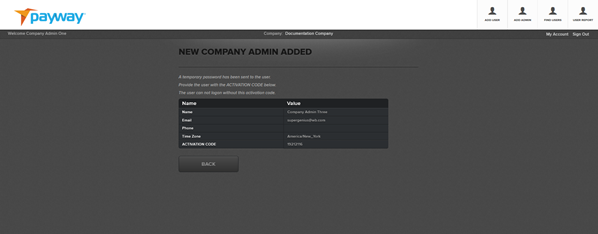
Record the random activation code for the new administrator.
2) Adding a new user
To create a new Company User, select the “ADD USER” button on the toolbar.

Enter all applicable information.
|
Name |
Description |
|
Logon Name |
Typically, user’s email address for uniqueness |
|
Dept/Notes |
Optional information |
|
Time Zone |
Time zone where the user is located, so that transaction time reflects the user’s time zone |
|
First Name |
First name of the user |
|
Last Name |
Last name of the user |
|
Phone |
Phone number of the user |
|
|
Email address of the user |
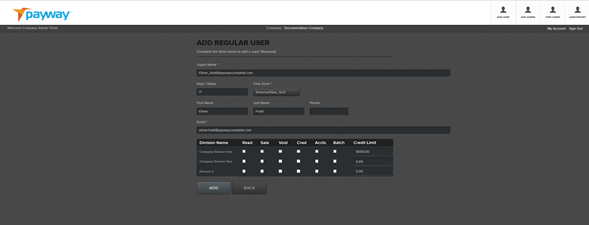
Select the permissions you want to assign to this User and the credit limit amount.
|
Permissions |
Description |
|
Read |
Find a transaction or account and run reports |
|
Sale |
Perform a sale |
|
Void |
Perform a void |
|
Cred |
Perform a credit |
|
Accts |
Perform an account creation (token) |
|
Batch |
Upload a batch of transactions for processing |
|
Credit Limit |
Maximum amount a user can credit per transaction when the Credit |
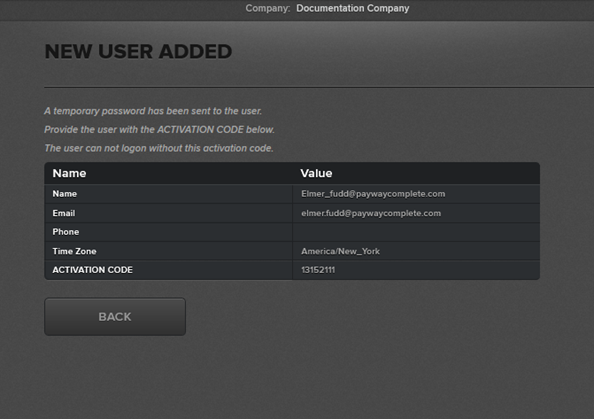
Once complete, select the “ADD” button on the bottom of the screen. A popup window will appear with the activation code for the new user and an email will be sent to the user with a temporary password.
3) Deactivating a company administrator or regular user
From the tool bar select “FIND USERS.”

Select Company Admins or Regular Users from the list.

Select the magnifying glass icon.

Choose “Inactive” from the drop-down list and select “UPDATE.” The Company Administrator has been de-activated.

4) File Processing Permission
Payway has added functionality that enables customers to process transactions through the PaywayWS by uploading a transaction file. This can be useful for consolidating payments from different sources in cases where development to a real-time Payway API is not possible or is cost prohibitive.
By default, permissions to “SUBMIT A FILE” and “FILE REPORTS” are not granted. Your Company Administrator must assign these privileges to company users that wish to upload and view file reports.
